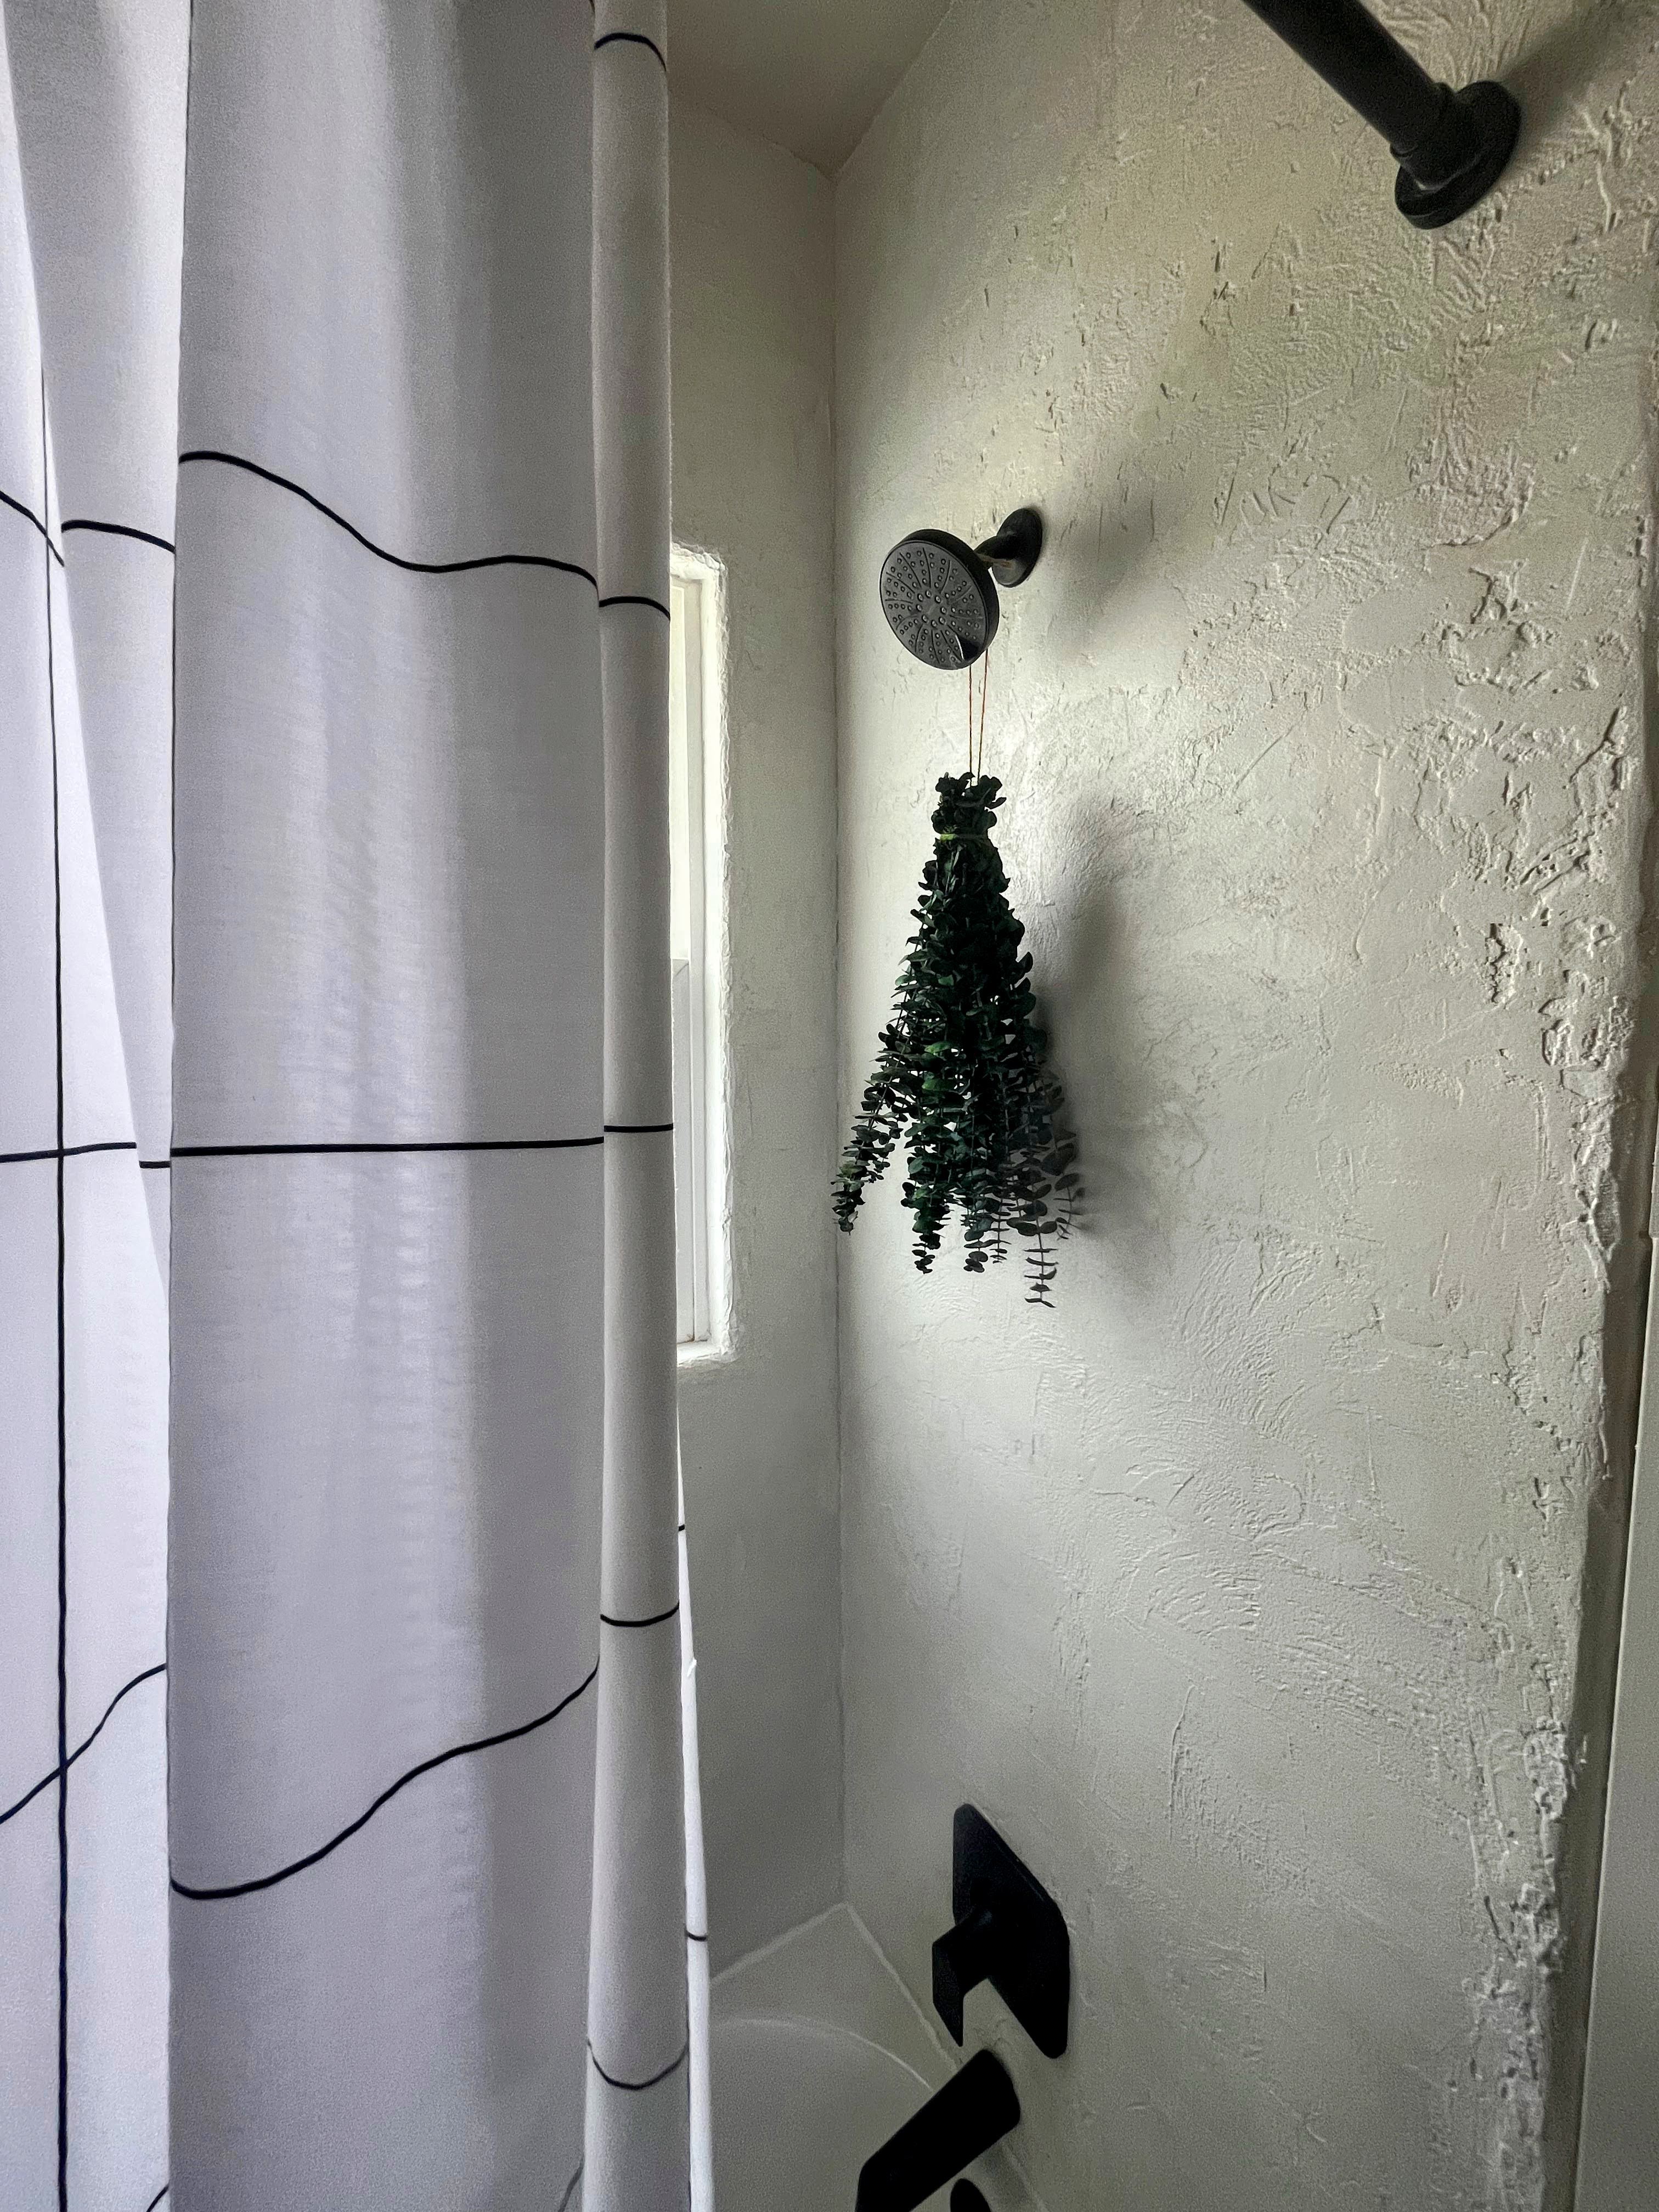

If you’re looking for a no demolition bathroom renovation, this is for you. The plaster I use goes straight over tile and is completely waterproof. And it looks beautiful – like you’ve walked into a spa.
Materials & Equipment
- Meoded Concretta water resistant plaster (contains plaster resin and the sealant parts A and B) – purchase enough for 2 coats
- Water
- Bucket x 2
- Drill
- Mixing paddle attachment for drill
- Plastic trowel
- Rags (for cleaning)
- All purpose cleaner
- Sponge (for wet sanding)
- Sanding block or orbital sander with 40 grit sand paper
- Paintbrush
- Paint roller
- Caulk (for bathroom)
- Caulk gun
Instructions
- Clean the area with rags and all purpose cleaner.
- To a bucket, add plaster resin and water. Make sure to add the correct amounts given square footage for the first coat and cure time. Mix with drill and paddle attachment per manufacturer instructions.
- To the desired surface, apply plaster in a thin, even coat. Continue coating until entire surface is coated. Note: I found my plaster drying up as I worked, so I periodically added a bit more water and remixed.
- Use a wet sponge or a plastic trowel in a circular motion before Concretta dries to create a more uniform design, expose the aggregate, and eliminate all imperfections.
- Allow at least 12 hours for the first coat to dry.
- Apply the second coat in the same manner as the first coat, but this time apply it a bit thicker to embed the large aggregate. Spread the material evenly maintaining the same thickness across the wall.
- For a smooth finish, smooth the wall with the trowel applying minimal pressure and cleaning off all excess material. If extra smoothing is needed, spray minimal amounts of water before the plaster dries and continue burnishing.
- Let the plaster dry for a minimum of 72 hours before applying sealant.
- To a clean bucket, add sealant Part A. Note: you may want to include just the amount needed for the first coat to avoid curing. Mix with drill and paddle attachment for approximately 1 minute.
- Add sealant Part B to bucket with Part A. Mix with drill and paddle attachment for 5 minutes at a low speed.
- Wait 15 minutes. Then, dilute with 20% water. Mix with drill and paddle attachment for 1-2 minutes at a low speed.
- Apply sealant using a paint brush to edge and a roller in a “V” or “W” motion. See below for full instructions from Meoded. Note: I found this process more forgiving than the instructions let on.
- Wait 8-24 hours before repeating steps 9-12 and applying a second coat of sealant.
- Wait 8 hours before caulking. Using a caulk gun, apply a thick bead of caulk around the bottom edges of the plaster and the bathtub or floor. Wipe with wet towel or finger to smooth.
- Wait until dry (~12-24 hours) before exposing to moisture.